
Hosting your own Minecraft: Java Edition server on Ubuntu is free and takes about an evening. You install Java 25, download one file from Mojang, accept the EULA, add your friends to the whitelist and open one port. Everything here is written for Minecraft: Java Edition 26.3, which matters because several things older walkthroughs tell you no longer work.
What you need for a Minecraft server on Linux
The server software costs nothing. It needs Java 25 to run, and on Ubuntu that's a single package.
Here's the shopping list:
- A machine running Ubuntu 26.04 LTS, 24.04 LTS or 22.04 LTS, with
sudoaccess. A spare PC, a mini PC or a rented VPS all work. - At least 2 GB of RAM free for a small group, and 4 GB if the server gets bigger.
- At least 5 GB of disk for the world, which grows as people explore.
- A wired network connection if you can manage it. Wi-Fi isn't recommended for a server.
Those figures are the Minecraft Wiki's guidance, the reference Mojang's own download page links to, so treat them as a starting point, not hard minimums. A Minecraft server mostly leans on a single CPU core, so a chip that's fast per core helps more than one with lots of cores.
Home PC or VPS makes little difference until the networking step, where a home machine also needs a port forwarded on the router.
The work itself: install Java, download server.jar, run it once, change eula=false to eula=true, run it again, whitelist your friends and open TCP port 25565. After that comes keeping it running, backups and updates.
Install Java 25
Minecraft has required Java 25 since version 26.1. If you ran a server a while back you probably remember Java 21, and that's too old now.
sudo apt update
sudo apt install openjdk-25-jre-headless
java -version
The last command prints the installed version, and it has to say 25. "Headless" just means the package leaves out the desktop and graphics parts, which a server with no monitor doesn't need.
Install the package by its full name. A lot of older instructions say to install default-jre-headless, and on Ubuntu 24.04 that gives you Java 21, on 22.04 Java 11. Only 26.04 has Java 25 as its default. With the wrong Java, the server won't start.
The openjdk-25-jre-headless package is available on all three LTS releases.
Create a minecraft user and a server folder
Don't run the server as root. If something ever goes wrong with it, you want it stuck inside an account that can't touch the rest of the system. It doesn't need root anyway: only ports below 1024 need root privileges, and Minecraft uses 25565.
sudo adduser --system --group --home /opt/minecraft minecraft
sudo chmod 755 /opt/minecraft
The first command creates a system user called minecraft, a group with the same name and a home folder at /opt/minecraft. Ubuntu creates that folder closed to every other account, yours included, so the second command opens it for reading. Without it, cd /opt/minecraft fails with a permission error. The account has no password and no login shell, so you can't log in as it. Instead, you run single commands as that user:
sudo -u minecraft <command>
If you ever copy files into the folder as yourself, hand them back to the server's account with sudo chown -R minecraft:minecraft /opt/minecraft.
Download server.jar
The file comes from the "Download the Minecraft: Java Edition server" page on minecraft.net. Every release has its own download address, so right-click the download link on that page, copy it, and paste it into this command in place of <address>:
cd /opt/minecraft
sudo -u minecraft wget -O server.jar <address>
Downloading it means you agree to the Minecraft End User License Agreement and the Privacy Policy.
For 26.3 the file is about 62 MB. It's worth one more line to check you got the real thing in one piece:
sha1sum server.jar
For 26.3, the output should start with this:
33680f5f2ac32864d6d7cf5e56a705fdb3e05f4c
If it doesn't, delete the file and download it again.
One thing to keep in mind from here on: the server creates and reads all its files in whatever folder you start it from. Always start it from /opt/minecraft, or you'll end up with a second, empty world somewhere else.
First run and the EULA
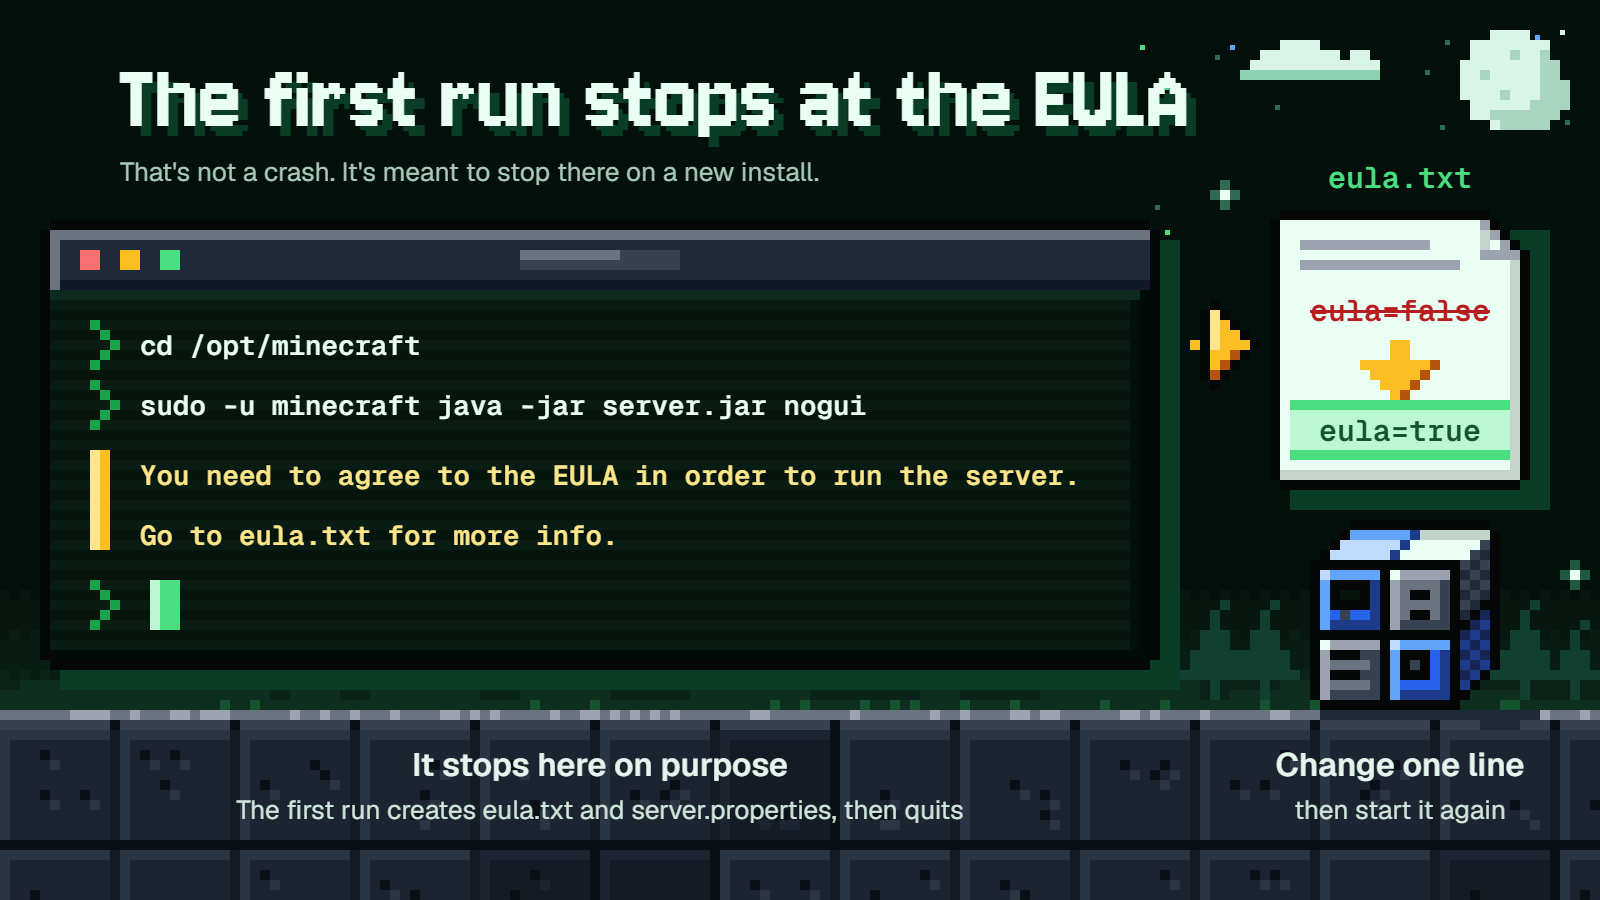
Start the server once:
cd /opt/minecraft
sudo -u minecraft java -jar server.jar nogui
It'll unpack some folders, create eula.txt and server.properties, then log this and quit:
You need to agree to the EULA in order to run the server. Go to eula.txt for more info.
That's not a crash. It's meant to stop there on a new install.
Open the file in a text editor:
sudo -u minecraft nano eula.txt
Change eula=false to eula=true, save and close.
What you just agreed to is the Minecraft End User License Agreement, a legal agreement between you and Mojang AB and Microsoft Corporation. The part that matters for you: it says you can install the server version of Java Edition on a server and host online play. What it doesn't allow is distributing or making commercial use of Mojang's stuff without permission. A private world for friends is fine.
Set the memory and start the server
This is the real start command:
sudo -u minecraft java -Xmx4G -Xms4G -jar server.jar nogui
The two -X flags control the "heap", which is Java's word for the memory the server is allowed to use. -Xmx is the ceiling and -Xms is how much it grabs at startup. Setting both to the same value is common on servers, so the memory is claimed once and stays put.
Say your box has 8 GB of RAM. Giving the server 4 GB with -Xmx4G -Xms4G leaves the other half for Ubuntu and anything else running. On a 4 GB machine, -Xmx2G -Xms2G is the sensible pick, and 2 GB suits a small group anyway. Don't hand the server every last bit of RAM the machine has, because the operating system needs some too.
nogui skips the server's graphical window, which you can't see over SSH anyway.
The server is ready when the log shows a line like this (the time will differ):
Done (9.876s)! For help, type "help"
The terminal is now the server console. Type stop to shut it down cleanly. It saves players and the world before exiting, so always use that instead of closing the window.
If you don't want to retype the command, put that one java line in a file called start.sh in /opt/minecraft and launch it with sudo -u minecraft sh start.sh.
server.properties: what to change first
server.properties is a plain text file of key=value lines in the server folder. The server only reads it at startup, so stop the server, edit, then start again.
sudo -u minecraft nano server.properties
Most of it can be left alone. These are the 26.3 defaults worth a look:
motd=A Minecraft Serveris the line friends see in their server list. Give it a name.difficulty=easyis the default. Most friend groups wantnormal.gamemode=survivalis fine unless you're building a creative world.max-players=20is plenty for a friends server.level-seed=is empty, meaning a random world. If you have a seed in mind, set it before the world is first created.spawn-protection=16stops anyone who isn't an operator from editing blocks within 16 blocks of spawn. If your group builds near spawn, set it to0.view-distance=10andsimulation-distance=10are in chunks and accept 3 to 32. If players get major lag, lowerview-distancefirst.
Leave online-mode=true alone. With it off, the server stops checking accounts and anyone can connect under any username they like, including yours.
If you're hunting for pvp, allow-nether, spawn-monsters or enable-command-block, they're gone. Those four left the file in 1.21.9 and are game rules now: pvp, allow_entering_nether_using_portals, spawn_monsters and command_blocks_work. You set them from the console with the gamerule command, for example gamerule pvp false.
There's one more line in that file that decides whether your friends can get in at all.
Whitelist your friends and make yourself operator
Since 26.3, a brand new server has white-list=true. Only whitelisted players and operators can join. Everyone else gets "You are not white-listed on this server!", even if your port and firewall are set up perfectly.
This catches people coming back from older versions, where the default was an open server. So sort it now, before you touch the network.
With the server running, type these into the console, using each person's exact Minecraft username:
whitelist add <name>
whitelist list
op <name>
whitelist add confirms with "Added to the whitelist". Run op on your own username to make yourself operator, which lets you run commands from inside the game.
You could set white-list=false and skip all this, but I'd keep it on. For a friends server it's the easiest protection there is: a stranger who finds your address still can't walk in.
If you're updating an existing server, a server.properties written by 26.2 or earlier keeps whatever white-list value it already had, so your regulars won't be locked out by the new default.
Open port 25565
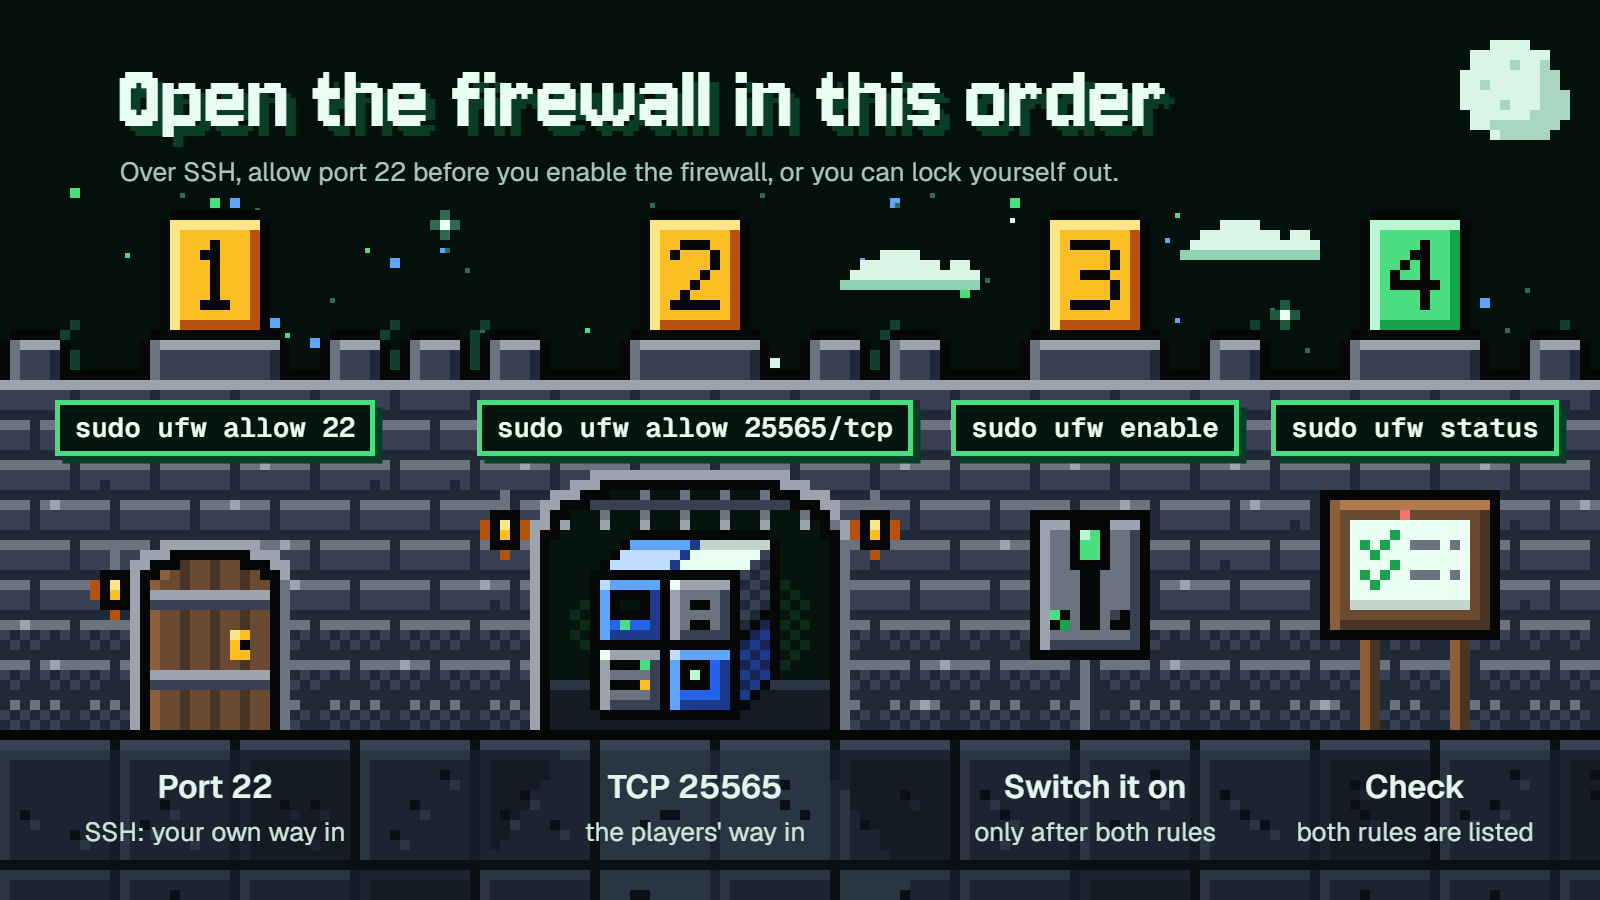
Players connect over TCP on port 25565. Ubuntu's firewall tool, ufw, is switched off after installation, and once it's on it blocks incoming connections unless you allow them.
Run these in this order:
sudo ufw allow 22
sudo ufw allow 25565/tcp
sudo ufw enable
sudo ufw status
The order matters if you're connected over SSH. Enabling the firewall can drop existing connections, and without the rule for port 22 you'd lock yourself out of your own machine. Ubuntu's firewall documentation covers ufw in more depth.
Forward the port on a home router
A VPS has a public address already, so there's no router to set up. Some providers run their own firewall in front of the server, and there TCP port 25565 has to be allowed in the provider's control panel as well. At home, your router sits between the internet and the server and has to be told where to send Minecraft traffic.
In your router's port forwarding settings, forward TCP port 25565 to the server's local address, something like 192.168.1.50. Menus vary by router, but the three things it asks for are always the same: protocol, port and the local address.
The port to open and forward is server-port. There's also a query.port=25565 line in server.properties, which belongs to a separate status feature that's off by default. Ignore it.
What friends type in
Friends go to Multiplayer > Add Server in the game, enter your public IP followed by :25565, for example 203.0.113.10:25565, then Done and Join Server.
Only give your public IP to people you trust. It's your home's address on the internet.
Keep it running: screen or systemd
Right now the server dies the moment you close the terminal. There are two fixes, and they suit different situations.
| screen / tmux | systemd service | |
|---|---|---|
| Survives closing SSH | Yes | Yes |
| Starts at boot | No | Yes |
| Restarts after a crash | No | Yes, with Restart=on-failure |
| Live console for commands | Yes | No |
| Setup effort | One command | A short unit file |
screen
screen gives you a terminal session that keeps going after you disconnect.
sudo apt install screen
screen -S minecraft
Inside that session, start the server as usual from /opt/minecraft. Then press Ctrl+A followed by D to detach. The server carries on, and you can close SSH. To get the console back:
screen -r minecraft
If you prefer tmux, it's the same idea: tmux new -s minecraft, detach with Ctrl+B then D, and return with tmux attach -t minecraft.
systemd
systemd is the part of Ubuntu that starts and manages background services. You describe your server in a small text file called a unit file, and Ubuntu takes care of starting it at boot and restarting it after a crash.
Create the file:
sudo nano /etc/systemd/system/minecraft.service
Paste this in:
[Unit]
Description=Minecraft Java Edition server
After=network.target

[Service]
User=minecraft
WorkingDirectory=/opt/minecraft
ExecStart=/usr/lib/jvm/java-25-openjdk-amd64/bin/java -Xmx4G -Xms4G -jar server.jar nogui
Restart=on-failure

[Install]
WantedBy=multi-user.target
A few of those lines deserve a word. User=minecraft is essential, because without it the service runs as root. WorkingDirectory makes the server start in the right folder. The Java path in ExecStart is the one for 64-bit x86 machines; on another architecture, run ls /usr/lib/jvm to see the folder name on yours. Change the memory values to match what you chose earlier.
Restart=on-failure brings the server back after a crash, but it won't fight you when you stop it on purpose. The systemd.service manual page lists the other restart options.
Make sure the server isn't still running in a screen session, then:
sudo systemctl daemon-reload
sudo systemctl enable --now minecraft
journalctl -u minecraft -f
The last command follows the log, so you can watch for the Done line. systemctl status minecraft shows whether it's up, and sudo systemctl stop minecraft shuts it down. That stop still saves the world on the way out.
The catch is that a service has no console. There's nowhere to type whitelist add or save-off.
Which one to pick
Use screen while you're still setting things up, or if the server only runs when friends are online and you start it by hand. Use systemd for anything meant to stay up day and night.
A good way to do both: run the server in a console session first, do your whitelist add and op commands, type stop, then switch to the service. Once you're an operator, you can run commands like /whitelist add <name> from the in-game chat, which covers most of what you'd miss the console for.
Back up the world
The world lives in the world folder inside /opt/minecraft. Since 26.1, all three dimensions sit inside it under world/dimensions/minecraft/, so archiving world gets the Overworld, the Nether and the End in one go. If you have an old backup script that points at DIM-1, it's out of date.
whitelist.json, ops.json and server.properties sit beside the world, not in it. That's why backing up the whole server folder is the simple choice: one archive and you can rebuild everything.
With a console (screen or tmux)
- In the server console, type
save-offto pause automatic saving. - Type
save-all flushto write everything to disk right away. The server freezes for a moment. - In a second terminal, from
/opt/minecraft, make the archive:
sudo -u minecraft tar -czf world-backup.tar.gz world
- Back in the console, type
save-on.
Don't skip the last step, or the server stops auto-saving until the next restart.
With a systemd service
No console means no save-off, so stop the server instead. Stopping saves the world.
sudo systemctl stop minecraft- Archive the whole folder:
sudo tar -czf minecraft-backup.tar.gz -C /opt minecraft sudo systemctl start minecraft
Whichever way you do it, copy the archive to another drive or another machine. A backup sitting on the same disk as the world does nothing for you when that disk dies.
Update to a new release
Each Minecraft release has its own server.jar. Updating means swapping that one file. Your world, eula.txt and server.properties are separate and stay where they are.
- Back up.
- Stop the server, with
stopin the console orsudo systemctl stop minecraft. - Check whether the new release needs a newer Java. It doesn't change often, but it does change: 1.21.11 ran on Java 21, and 26.1 and later need Java 25.
- Download the new
server.jarover the old one, using the samewget -O server.jar <address>command with the new release's link. - Start the server.
Step 1 isn't optional. When a newer version loads an older world, it upgrades it, and that's a one-way trip. Mojang doesn't support downgrading a world and says doing so could cause corruption. If the update goes badly, your backup is the only way back.
Tell your friends before you update, too. Anyone whose game is still on the old version gets refused with an Incompatible client! message that names the version to use. It's an easy fix on their end, but it saves you a round of "is the server down?" messages.
FAQ
Why can't my friends join even though the port is open?
Check the whitelist first. On a new 26.3 server it's on by default, and anyone not on it sees "You are not white-listed on this server!". If the game can't reach the server at all, look at sudo ufw status for the 25565/tcp rule, then at the port forward on your router.
Can I run the server without port forwarding?
Yes, for players on the same home network. They connect to the server's local address, such as 192.168.1.50. Anyone outside your home needs the port forwarded on your router, unless the server is on a VPS, which is already reachable.
How much RAM does a Minecraft server need?
The Minecraft Wiki's guidance is at least 2 GB available for a small server, and 4 GB for a larger one. Set it with -Xmx and -Xms in the start command, and leave some of the machine's memory for Ubuntu.
Where did pvp go in server.properties?
It was removed from the file in 1.21.9, along with allow-nether, spawn-monsters and enable-command-block. They're game rules now, so you change PvP with gamerule pvp false or gamerule pvp true from the console or in-game as an operator.
How do I run commands when the server is a systemd service?
You can't type into a service, because it has no console. The easy route is to make yourself operator before you switch to systemd, then run commands from the in-game chat. For anything else, stop the service, start the server by hand in a terminal, run your commands, type stop, and start the service again.